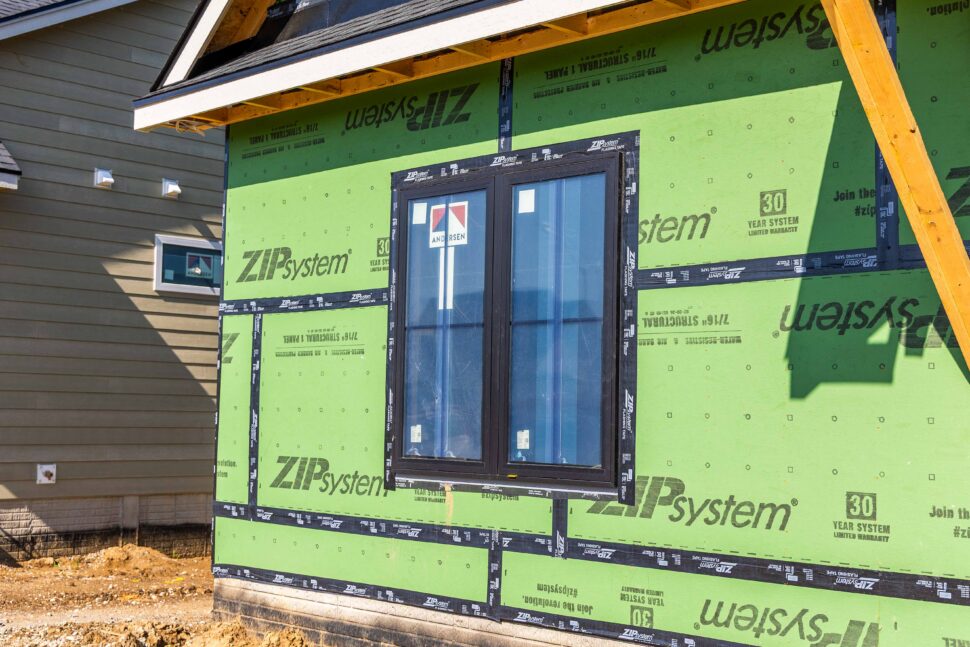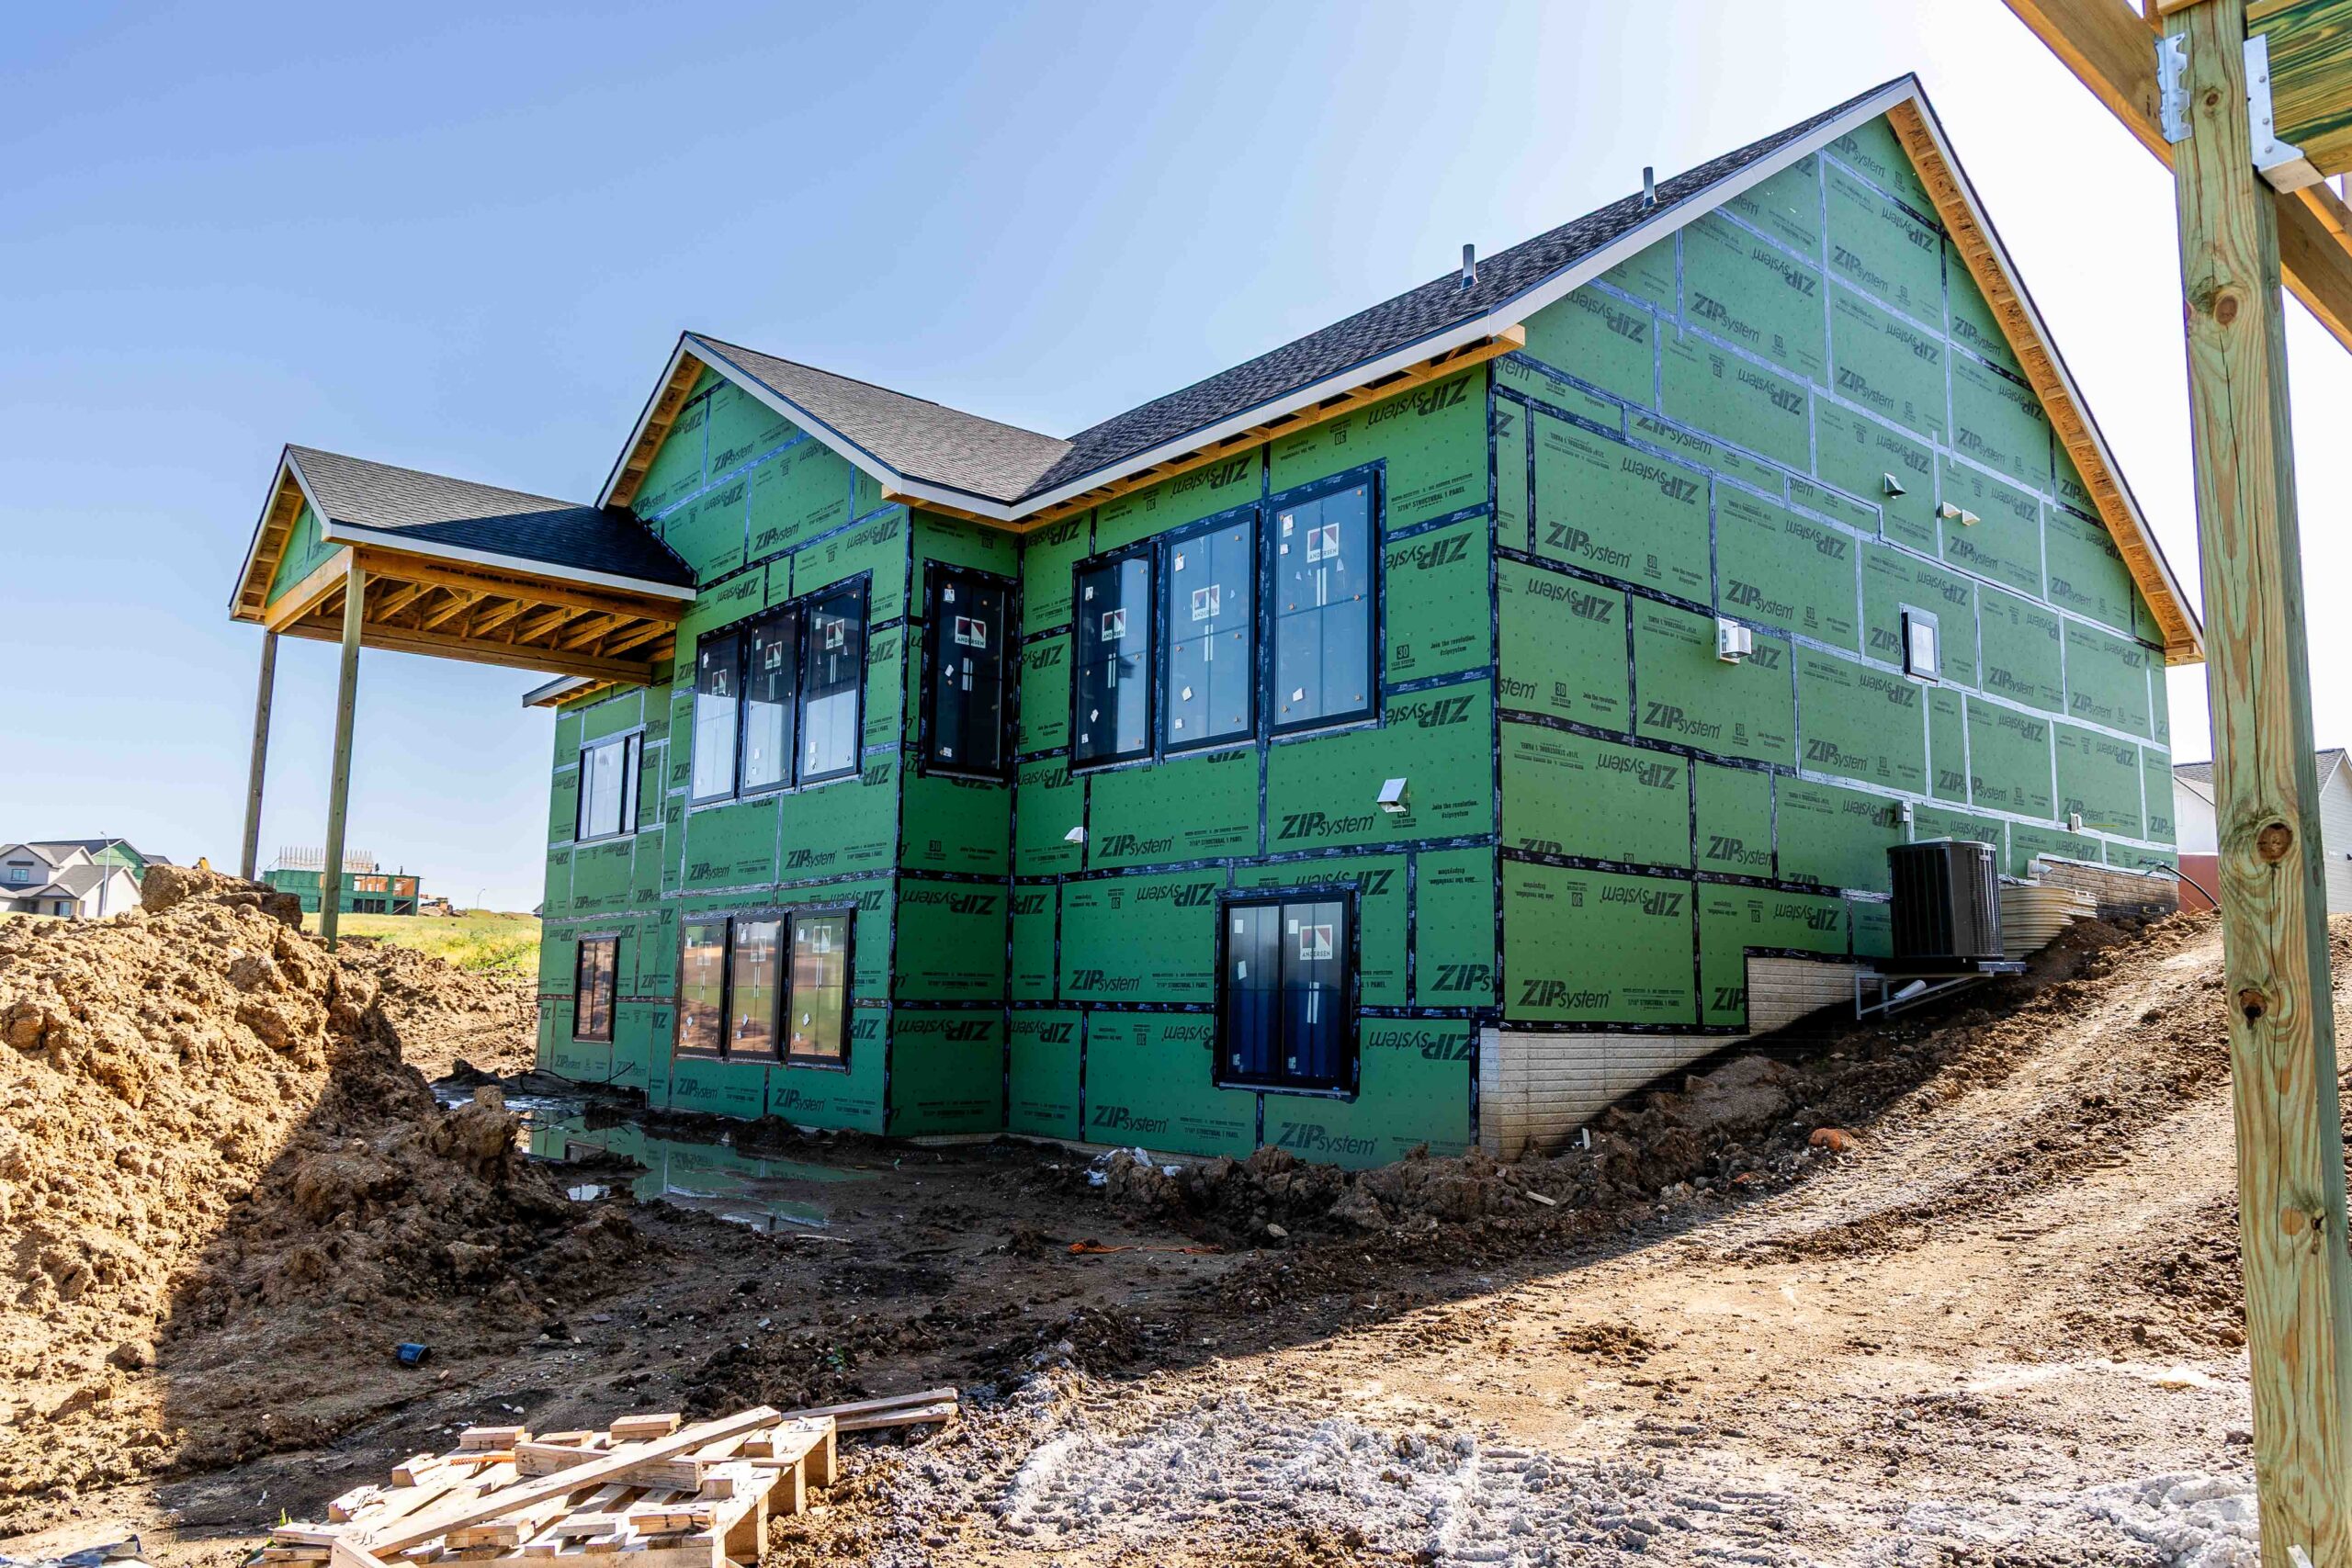
For professional builders, remodelers, and window installers, a successful window installation is about more than getting the unit into the opening. Proper planning, water management, flashing, sealing, and product selection can all affect how efficiently the job gets done — and how well the window performs long after the crew leaves.
A few extra minutes spent checking the rough opening or planning your flashing sequence can save considerably more time correcting problems later.
Whether you’re installing windows in a new construction home or completing a replacement project, these window installation tips for contractors can help your crew work efficiently, maintain consistent quality, and reduce the risk of callbacks.
1. vERIFY THE wINDOW BEFORE INSTALLATION BEGINS
Efficiency starts before the window ever reaches the rough opening.
Before installation, confirm:
- Window size and configuration
- Rough opening dimensions
- Window type and handing, where applicable
- Interior and exterior finish
- Glass package
- Hardware and accessories
- Installation method and required materials
On projects with multiple window sizes and configurations, organizing units by elevation or installation sequence can also prevent unnecessary handling and time spent searching for the correct window.
And don’t rely on assumptions from the previous opening. Always verify the opening and the product you’re installing.
2. sTART WITH A SQUARE, LEVEL AND PLUMB ROUGH OPENING
Even a high-quality window can be difficult to install correctly when the rough opening isn’t ready.
Before setting the window, check that the opening is:
- Square — Compare diagonal measurements.
- Level — Pay particular attention to the sill.
- Plumb — Check both sides of the opening.
- Properly sized — Confirm required clearances using the manufacturer’s installation instructions.
- Clean and structurally sound — Remove debris or anything that could interfere with flashing, sealants or the window itself.
This is also the time to identify framing issues instead of discovering them after the window is partially fastened.
Andersen’s professional installation guidance similarly emphasizes verifying that the rough opening is properly sized, plumb, level and square before setting the unit.
3. Think About Water Management Before Setting the Window
One of the most important aspects of window installation happens around the window rather than to the window itself.
The window must work with the wall assembly to manage water and air.
Before beginning, understand how the window integrates with the project’s:
- Water-resistive barrier (WRB)
- Sill flashing or sill pan
- Jamb flashing
- Head flashing or drip cap
- Exterior cladding
- Interior air seal
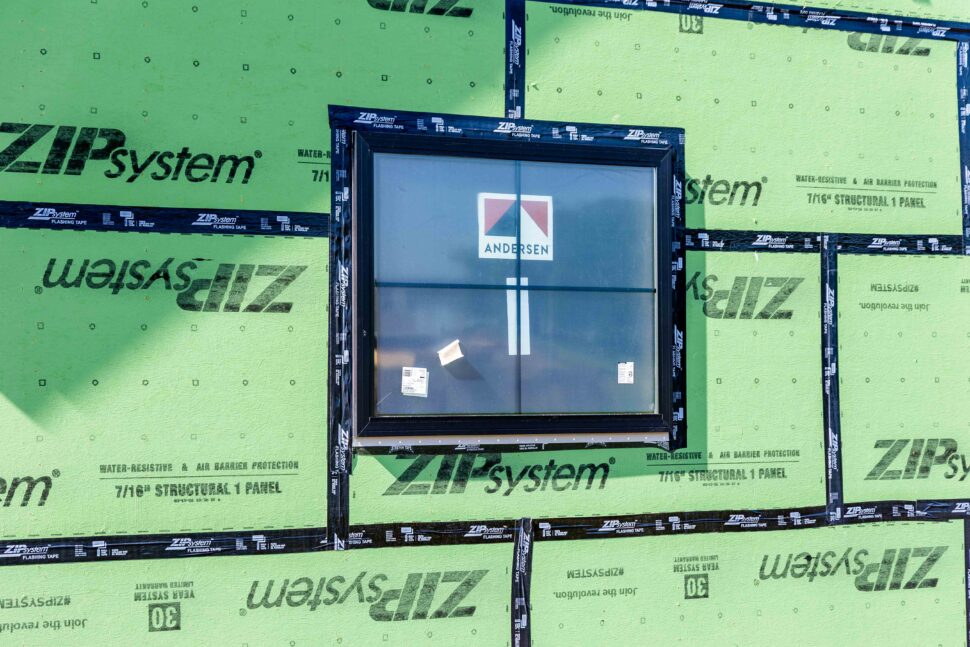
The goal is to create a drainage path that moves water down and away from the opening, rather than creating areas where moisture can become trapped.
A good rule to remember is the same principle used in roofing: upper layers should generally overlap lower layers so water continues toward the exterior. Andersen’s professional installation resources emphasize proper shingle-style lapping, head flashing and appropriate integration with the WRB.
4. Don’t Skip the Sill
The bottom of the rough opening deserves special attention.
A properly prepared sill helps manage incidental water that could reach the opening and provides the foundation for setting the window correctly.
Depending on the window, wall assembly and manufacturer’s instructions, preparation may include:
- Sill flashing or an approved sill-pan system
- Properly positioned shims
- A drainage path toward the exterior
- Correct integration with the WRB
Avoid improvising installation details from one window brand or product line to another. Requirements can vary by product, installation type and wall construction.
5. Dry-Fit and Check Operation Before Final Fastening
Once the window is placed into the rough opening, don’t immediately complete the fastening process.
First:
- Temporarily secure the unit according to the manufacturer’s instructions.
- Recheck level, plumb and square.
- Verify the reveal around the window.
- Check the frame for bowing.
- Operate the sash.
- Confirm locks and hardware engage correctly.
- Make adjustments before final fastening.
This simple checkpoint can prevent a small alignment issue from becoming a bigger problem after flashing and exterior work are complete.
6. Use the Correct Shims and Fasteners
Shimming is not simply about holding the window in place. Proper shim location supports the frame while helping maintain alignment and operation.
Follow the window manufacturer’s specifications for:
- Shim locations
- Fastener type
- Fastener length
- Fastener spacing
- Approved fastening locations
Over-fastening can distort a window frame just as easily as insufficient fastening can cause problems.
The safest approach is simple: follow the installation instructions for the exact window you’re installing rather than relying on a universal installation method.
7. Match Flashing Tape and Sealant to the Application
Not every flashing tape, sealant or WRB is compatible with every substrate.
Before installation, verify compatibility between the products being used around the opening, including:
- Window frame or installation flange
- Sheathing
- WRB
- Flashing tape
- Liquid flashing
- Sealant
- Exterior cladding
Surface preparation matters too. Dust, moisture, temperature and improper application can all interfere with adhesion.
Andersen specifically recommends checking manufacturer technical information for compatibility and notes that its own installation materials are designed to be compatible with Andersen products.
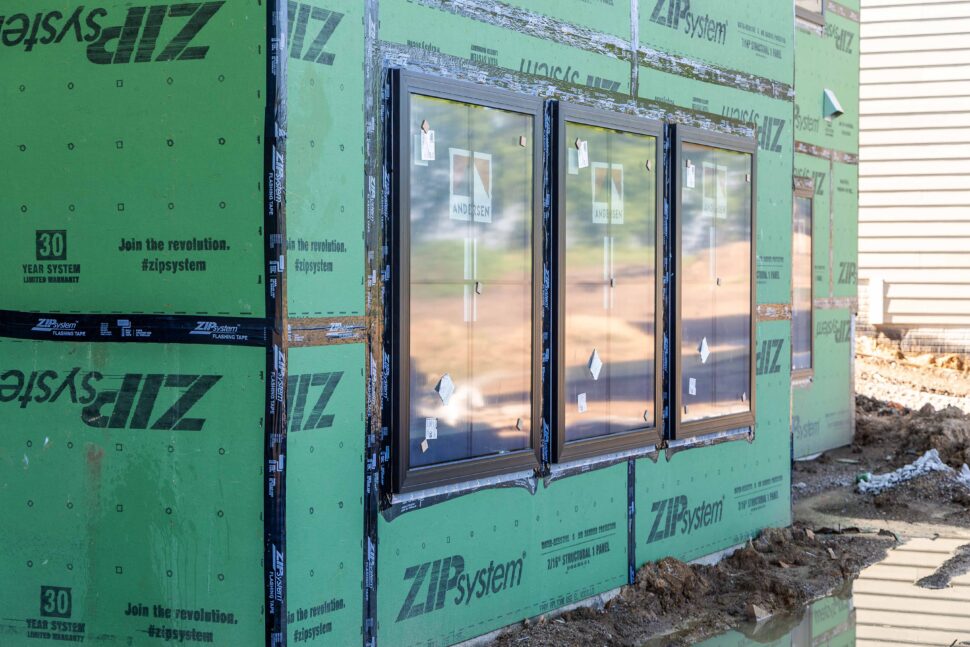
8. Don’t Assume the Installation Flange Does All the Water Management
An installation or nailing flange helps secure many new-construction windows to the rough opening, but it shouldn’t be confused with the complete flashing system.
The flange needs to be correctly integrated into the wall’s water-management strategy.
That means the flashing, WRB, head detail, sill and sealants all need to work together.
The best-performing window on the truck can only do its job when the surrounding installation details allow it to.
9. Protect Installed Windows From the Rest of the Jobsite
Installation isn’t necessarily the end of your responsibility for the window.
After the unit is installed, protect it from damage caused by other construction activities.
Watch for:
- Drywall compound
- Paint and stain
- Mortar and masonry wash
- Concrete dust
- Metal grinding debris
- Ladders and equipment
- Material being passed through openings
- Damage to sills from workers using them as steps or work surfaces
Establishing a window-protection process across the entire crew can save time and money as the project moves toward completion.
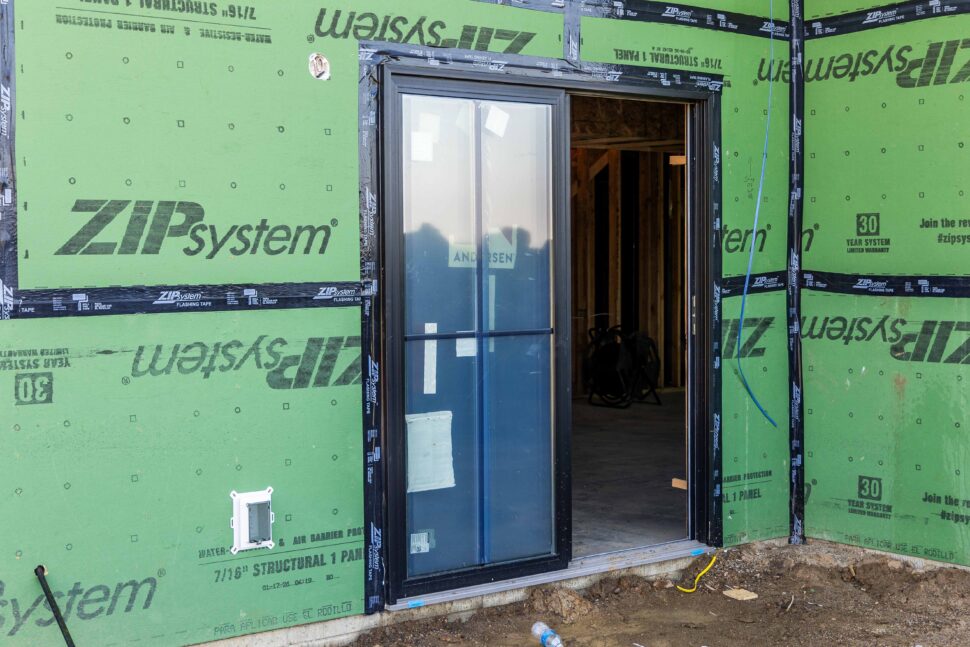
How Andersen Windows Can Help Contractors Work More Efficiently
Product quality matters, but for a contractor, support before and during installation matters too.
That is one reason Gilcrest/Jewett offers Andersen Windows & Doors as part of its window and door lineup for Iowa builders, remodelers and homeowners.
Here are several Andersen resources and product characteristics that can help simplify the process for building professionals.
Product-Specific Installation Instructions
Instead of relying on a one-size-fits-all installation guide, Andersen offers an Installation Guide Configurator that creates instructions based on the specific window or patio door and building construction.
The resulting guidance can address rough-opening preparation, sealing, shimming, fastening, flashing and water management.
For contractors, that can remove some of the guesswork when moving between product types or installation conditions.
Professional Technical Resources
Andersen also provides professional resources including:
- Installation guides
- Product guides
- Sizing resources
- Technical documents
- Performance information
- Warranty documents
- Contractor training resources
Having that documentation available during estimating, ordering and installation can help teams identify details before they become jobsite problems.
Factory-Finished Options
Depending on the Andersen series and product selected, factory-finished interior and exterior options may also reduce finishing work required in the field.
For example, select Andersen products are available with prefinished interior options, while other product lines use low-maintenance exterior cladding or composite materials.
For builders managing tight schedules, reducing additional finishing steps can help simplify coordination between trades.
Options for Different Project Requirements
Not every project calls for the same window.
Andersen offers multiple product series covering different combinations of materials, sizes, finishes, design options and performance requirements.
Working with a knowledgeable supplier early in the project can help contractors match the window to the application rather than trying to solve specification issues once the project is underway.
The Supplier Matters, Too
A good installation begins well before materials arrive at the jobsite.
Working with an experienced building materials supplier can help contractors confirm specifications, review available options, coordinate product orders and get answers when questions arise.
Gilcrest/Jewett supplies windows and doors from leading manufacturers including Andersen Windows & Doors, backed by knowledgeable sales professionals who work with building and remodeling customers throughout Iowa.
For contractors, that means having a local resource to help with:
- Product selection
- Window specifications
- Sizing questions
- Andersen product options
- Project ordering
- Delivery coordination
- Replacement and new-construction window needs
The earlier your supplier is involved, the easier it can be to identify potential challenges before installation day.
Window Installation Checklist for Contractors
Before leaving the jobsite, give each unit a final inspection.
Before installation:
- Confirm the correct window and opening
- Verify manufacturer installation requirements
- Check rough opening dimensions
- Check level, plumb and square
- Review the WRB and flashing plan
- Verify tapes, sealants, shims and fasteners
During installation:
- Follow the manufacturer’s fastening pattern
- Maintain proper shimming and frame alignment
- Check window operation before final fastening
- Integrate sill, jamb and head flashing correctly
- Maintain proper drainage paths
- Complete required interior air sealing
Before completing the job:
- Operate and lock the window
- Inspect flashing and sealant
- Confirm weep or drainage areas remain unobstructed
- Clean the unit as directed
- Protect the window from remaining construction activity
Avoiding Callbacks Starts With the Details
For professional builders and window installers, efficiency isn’t simply about working faster. It’s about developing a repeatable process that prevents problems.
Verify the opening. Follow the installation instructions. Plan for water. Use compatible materials. Check the window before final fastening. And work with products and suppliers that provide the technical resources your crew needs.
Those details can mean the difference between an installation that simply looks finished and one that’s built to perform.
Find Andersen Windows for Your Next Iowa Project
Planning an upcoming new construction, remodeling or window replacement project?
Gilcrest/Jewett Lumber Company can help you find the right Andersen window products for the job. Connect with your local Gilcrest/Jewett team to discuss window options, product specifications and ordering for your next project.
Build with confidence. Install with confidence. Start with Gilcrest/Jewett.